The very first post on the WBHB blog was
"Hammockent", in which I built a tent with integrated hammock.
Last summer I did camping a couple of times and needed a tent - a perfect excuse to resurrect the old girl.
My mate Jam decided to do a weekend-long BBQ/beer thing, in the festival style, on his penthouse-roof terrace. This necessitated a tent to sleep in.
Tent pegs don't work that well on flagstones (I tried to find a citation for this, but it seems very poorly researched so I'm afraid you'll have to take my word for it, or research it yourself). However, Hammockent has a reasonable self-weight, so doesn't tend to fly away. This makes it perfect for roof-top festivals.
On the way to Jam's, I went past my Dad's to pick up my 'tent, and then past Wickes to pick up a larger tarpaulin, some bolts to replace the lost ones, assorted polypropylene rope, and some emergency nails, in case the bolts didn't work (they didn't work great the first time, and the timber had been sitting unused for a while.
When I arrived, after a beer, I started setting up the 'tent. I quickly found that the bolts I'd bought were too short, due to an oversight on my part, so did very little to secure the various parts together. Thankfully, I'd bought emergency nails. And so I set about nailing the end trusses together.
This took a long time.
By the time I was finished, it was dark, so I had to attach the main beams in the dark. This took several more nails, used in ways I would generally avoid. I was left with something that resembled a hedgehog, and was still quite wobbly. This was fixed by using some of the rope to tension the structure corner-to-corner, stopping the general front-to-back rocking that a non-triangulated structure tends to have.
I then found that I didn't have the right bolts for the hammock itself, so had to install them the wrong way round, leading to reduced pull-out resistance, and a much longer job in the morning to take the hammock down to get dressed (to original design left the hammock removable, to free up space.
Installing the tarpaulin way the usual shenanigans of tying rope to as many corners as possible, and then doing origami until the vaguely covers the frame, and then some more rope, and some more knots, and maybe a couple of nails.
I go to such length to explain this because it was a stupid idea. Nails weren't the right thing to hold this structure together, and banging them all in with a hammer took ages, and several beers. This was demonstrated the next morning when I awoke to a very rock-able structure, the cause of which turned out to be that one of the supports was loose. This got reattached, just for the other one to come loose the next night.
Even with a failure of 25% of the structural members, the frame still worked, and was comfortable, if a little unnerving.
And so, when I went camping for a weekend a couple of weeks later, Hammockent came with me again. Only this time I brought my impact driver with me and some 80mm screws - this frame was getting assembled like never before.
Whilst everyone else struggled to work out which long pole went in which impossibly-sized hole, I just had to throw a couple of screws in each joint until the whole frame was up - and it was stronger than ever, hardly moving at all. All the best camping experiences need power tools!
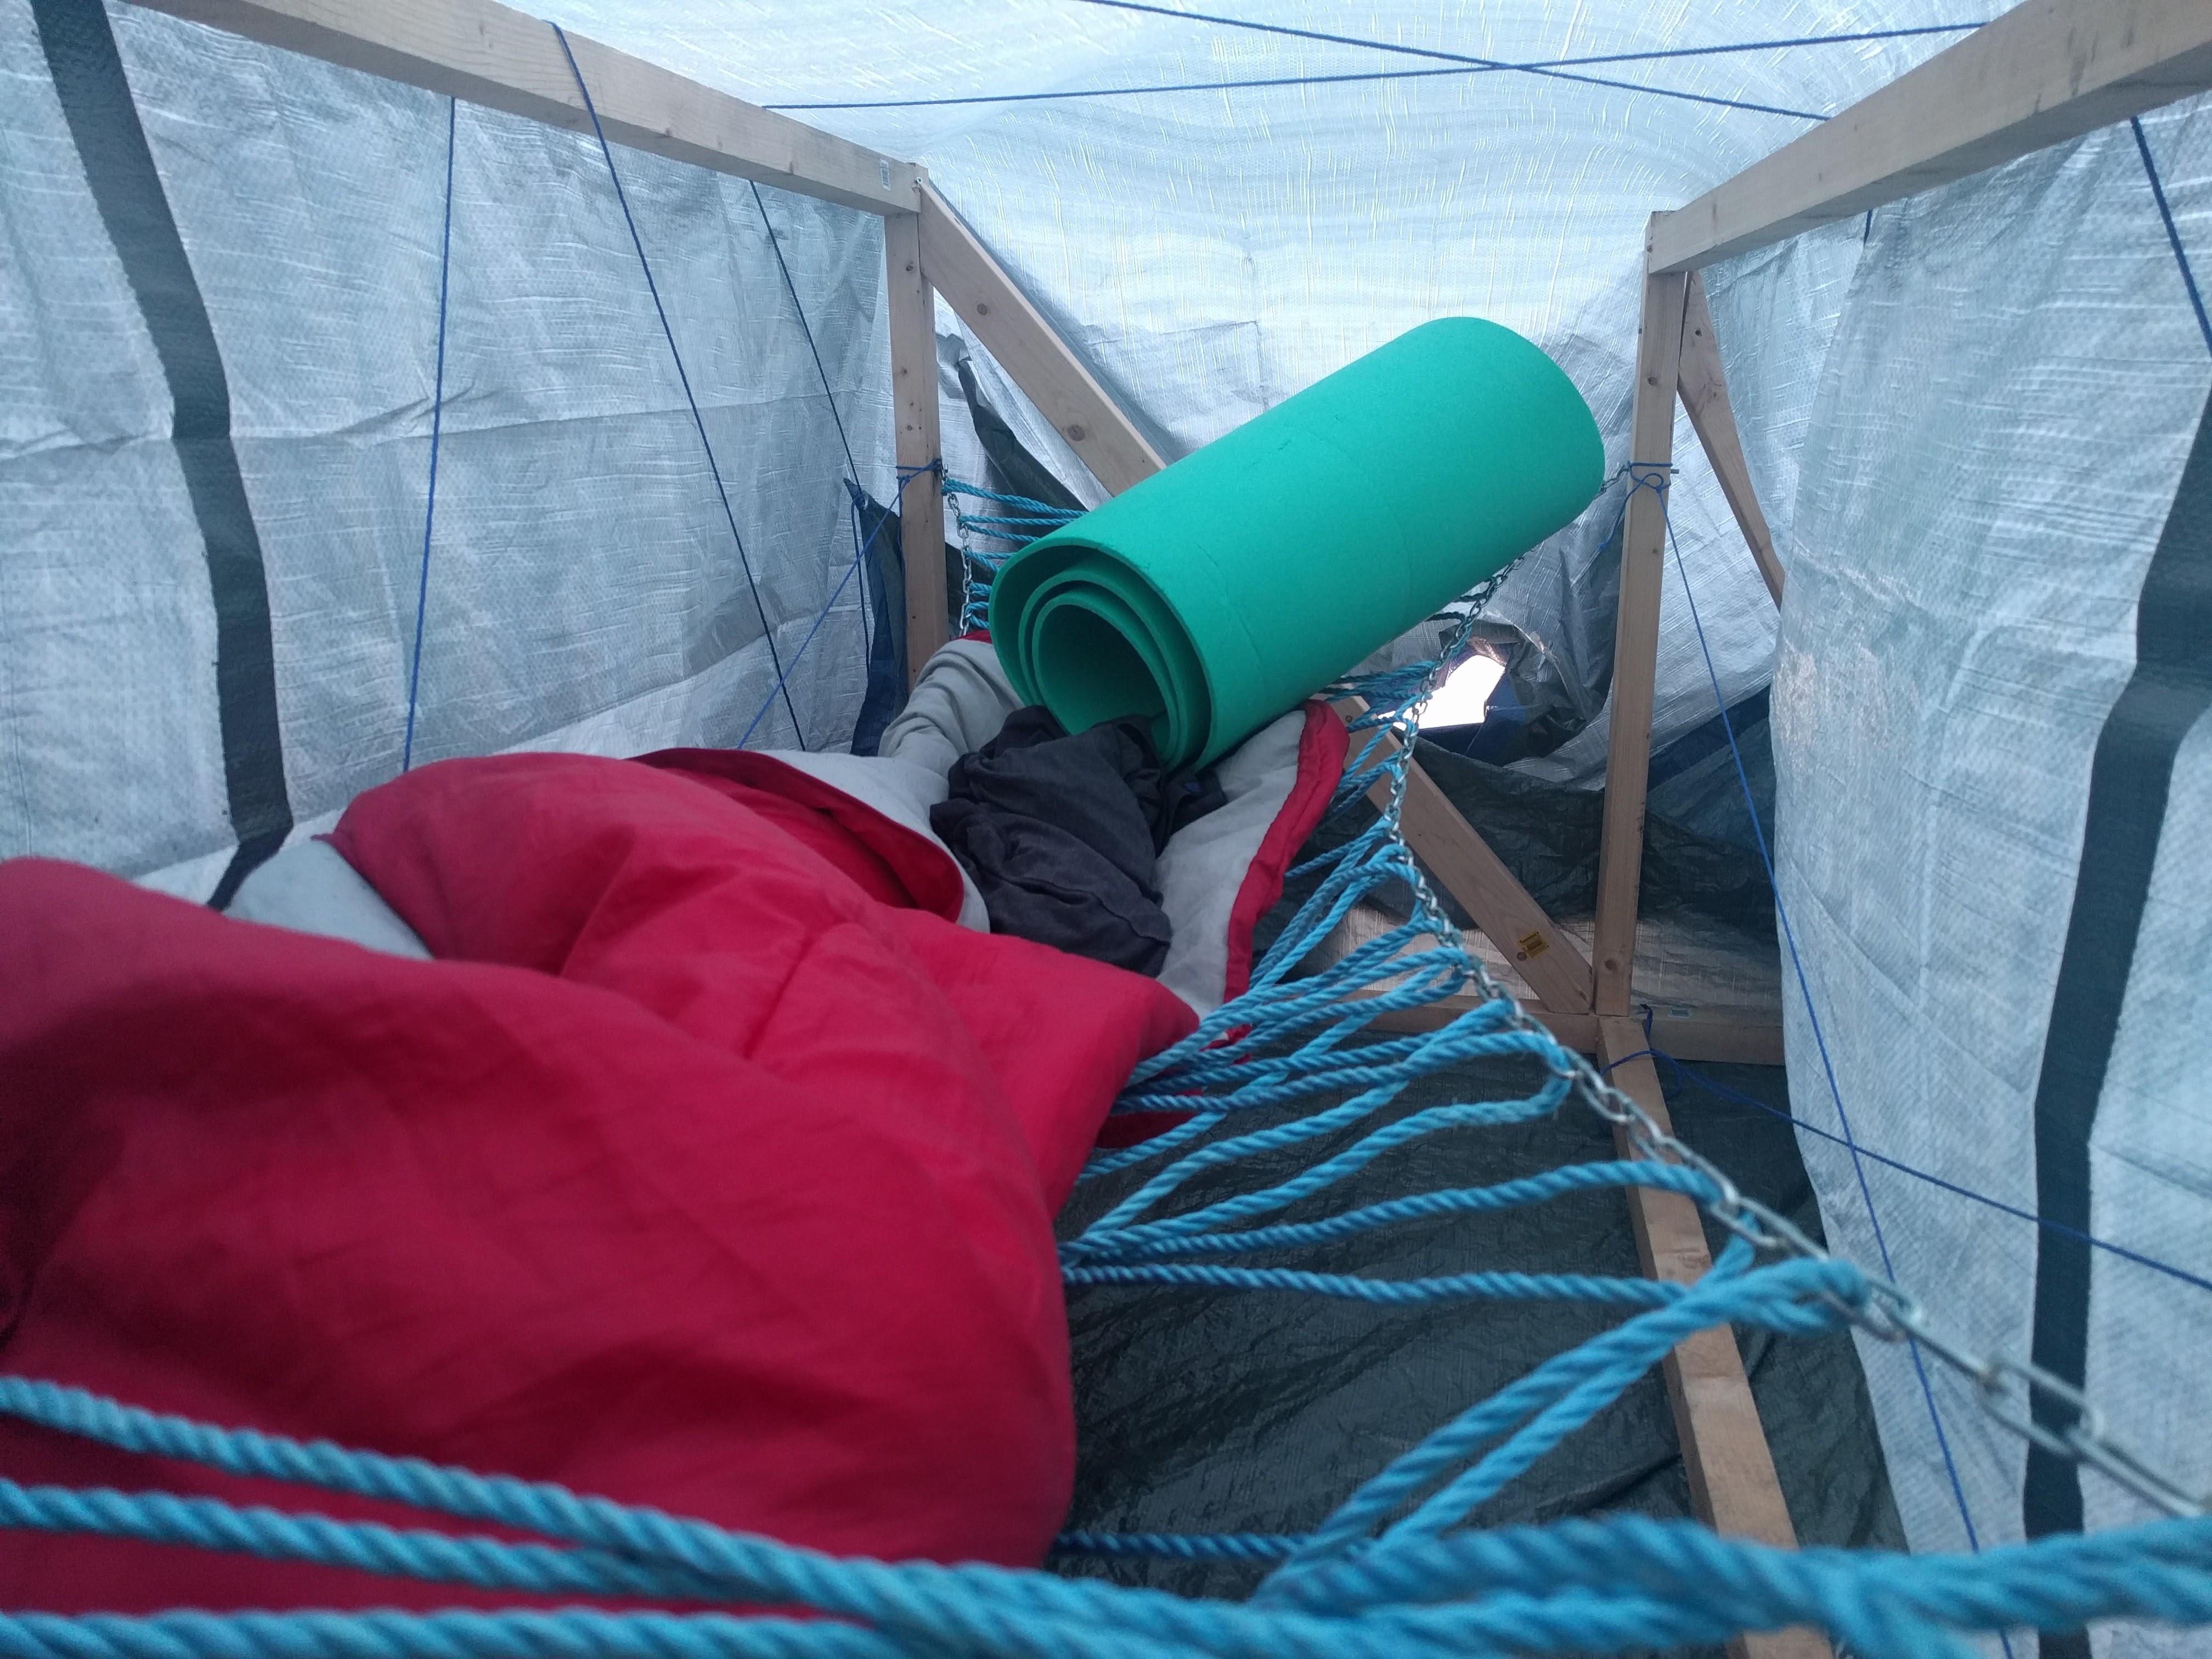
The tarp was simpler to assemble on a real field, as I could just peg down a small one like a ground sheet, and then peg the larger one ever the top, like a normal tent. A spare roll-matt made a crawlway for the entrance, and the 'tent was set.
This time was much more successful, so the next time I build a Hammockent, it will definitely be a screw-based construction. Indeed it's tempting just to turn up at a campsite with a bunch of 2x4s, some screws, a reciprocating saw, and an impact driver, and come up with something on the spot.